🎨 Image Editing Guide
Master every editing tool to create professional character assets
📋 What You'll Learn
StableGen offers three powerful editing approaches: our lightweight Canvas Editor for composition and sketching, Prompt-Based Editing for overall changes and enhancements, and Precision Inpainting for surgical edits to specific areas.
🖼️ Canvas Editor
The Canvas Editor is designed as a convenient tool for quick compositions and pose sketches—not a Photoshop replacement—but perfect for setting up layouts that AI can then enhance into professional assets.

Toolbar
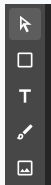
This is where you select your tool. Each icon represents a different editing function available in the canvas editor.
Tools

Pointer Tool
Select and move layers around the canvas

Shape Tool
Insert colored geometric shapes
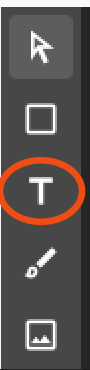
Text Tool
Add text overlays and labels
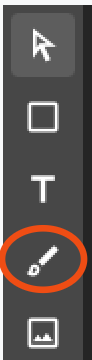
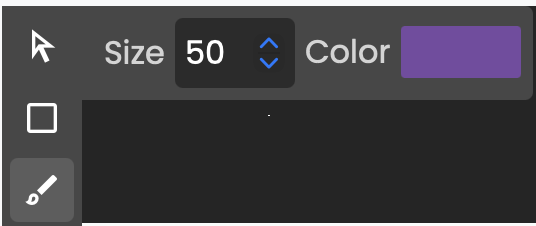
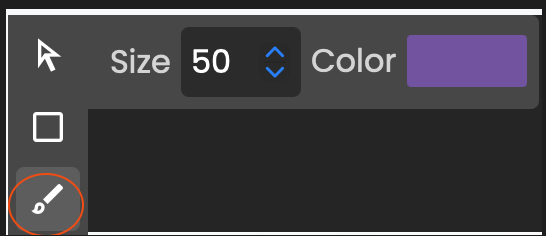
Drawing Tool
Free drawing and sketching
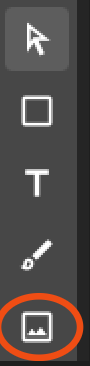
Image Insert Tool
Insert and position images
Zoom Controls and Cropping
Use your mouse wheel to zoom in and out of the canvas. You can use zoom controls to expand your image on the canvas - when you save, any parts of the image beyond the canvas boundaries will be cropped out.
 ⚡ Quick tip: Clicking on the zoom percentage in the bottom left corner of the editor resets your zoom to 100%.
Layers
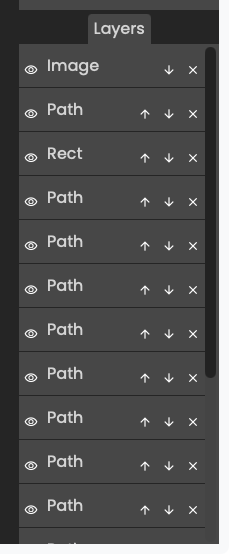
Manage the stacking order of your elements. Use the arrows on individual layers to move them up and down in the layer order.
Canvas and Layer Size

Adjust the size of individual layers or the overall canvas. To change canvas size, left-click off of the canvas to deselect any layers, then adjust the canvas dimensions. This determines the final size of your editing image.
⌨️ Prompt-Based Editing
Prompt-based editing uses AI to make overall changes to your images through natural language descriptions.
How It Works
- Find the asset you want to edit and click "Edit"
- Stay on the "Prompt Editing" tab
- Write a natural language prompt describing your changes
- Choose your AI model (Gemini 2.5 Flash or Seedream 4.0)
- Click "Save as New Asset"
🚀 Best For
- Overall style changes
- Adding or removing accessories
- Changing clothing or hair
- Adjusting expressions
- Background modifications
💡 Effective Prompting Tips
✅ Good Prompts
- "Add sunglasses and confident smile"
- "Change hair color to blue"
- "Professional business attire"
- "Medieval armor, fantasy style"
❌ Avoid
- Very long, complex descriptions
- Contradictory instructions
- Too many specific details
- Vague requests like "make it better"
📷 Using Reference Images
You may also include a reference image with your prompt to assist in the editing. You can refer to the included image as the 'reference image' and use it for various purposes.
Style Reference
Upload an image to guide the art style, color palette, or aesthetic
Clothing Reference
Show specific outfits, uniforms, or fashion styles you want
Pose Reference
Reference specific poses, gestures, or body positions
🎨 Inpainting
Inpainting allows you to selectively regenerate specific parts of an image while leaving the rest unchanged.

Inpainting Process
- Find the asset you want to edit and click "Editor"
- Switch to "Inpainting" tab
- Paint over areas you want to regenerate
- Write a prompt describing what should appear in masked areas
- Click "Re-generate with AI"
🎯 When to Use Inpainting
- 🖐️ Fix hands or faces that didn't generate well
- 👕 Replace specific clothing items
- 🎨 Modify backgrounds without affecting the character
- ✨ Add specific details to particular areas
- 🔧 Fix any problem areas with surgical precision
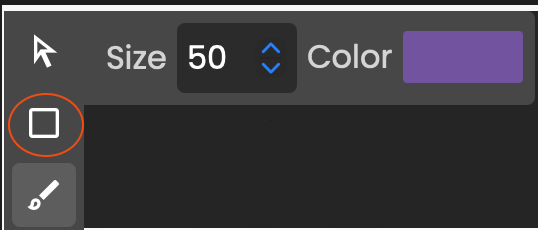
Inpainting Toolbar
This is the inpainting toolbar where you select your masking tool. Each icon represents a different way to paint the areas you want to regenerate.
Inpainting Tools
Brush Mask Tool
Free-form painting for precise masking
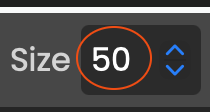
Brush Size Adjustment
Control the size of your masking brush
Shape Mask Tool
Geometric shapes for clean selections
💡 Inpainting Best Practices
✅ Masking Tips
- Paint generously over the problem area
- Include edges and transitions in your mask
- Better to mask slightly more than needed
- AI will blend edges naturally with surrounding image
💬 Prompt Tips for Inpainting
- Be specific about what should appear in masked areas
- Examples: "red dress", "normal hands with 5 fingers", "sunset sky"
- Keep prompts focused on the masked region
- Test different prompts if first result isn't perfect
💡 Pro Tips & Workflows
🚀 The Complete Workflow
- Start with a prompt to generate base character
- Use inpainting to fix any problem areas
- Open in canvas editor to add backgrounds, text, or compositions
- Add reference images if you need specific styles
- Final AI enhancement with canvas + prompt for polish
⚡ Quick Wins
- Save versions frequently - you can always go back
- Use canvas for pose sketches then let AI fill details
- Combine tools - don't rely on just one approach
- Experiment with AI models - each has strengths
- Keep prompts concise but descriptive
📚 Continue Learning
Want to learn more about creating characters from scratch?
📖 View Getting Started Guide